The Honeywell TH5220D1029 is a FocusPro 5000 non-programmable digital thermostat designed for ease of use and efficient temperature control;
It supports various heating and cooling systems, including gas, oil, electric, and heat pumps, making it versatile for different home setups․
The thermostat comes with a detailed installation manual, ensuring a smooth setup process for both professionals and DIY enthusiasts․
1․1 What is the Honeywell TH5220D1029?
The Honeywell TH5220D1029 is a FocusPro 5000 non-programmable digital thermostat designed to provide precise temperature control for residential and light commercial heating and cooling systems․
It is part of Honeywell’s FocusPro series, known for its simplicity and reliability, offering a user-friendly interface for easy operation․
This thermostat is compatible with a wide range of systems, including gas, oil, electric, and heat pumps, making it a versatile option for various setups․
Key features include a backlit display for better visibility, adjustable temperature settings, and compatibility with single-stage or multi-stage systems․
The TH5220D1029 is designed to be energy-efficient, helping users maintain consistent comfort while reducing energy consumption․
Its non-programmable design focuses on straightforward operation, ideal for users who prefer manual control over their heating and cooling preferences․
With a focus on durability and performance, the Honeywell TH5220D1029 is a popular choice for homeowners and professionals seeking a reliable temperature control solution․
The thermostat also supports auxiliary heat for heat pump systems, ensuring optimal performance in varying climates․
Overall, the Honeywell TH5220D1029 is a robust and efficient thermostat that meets the needs of modern heating and cooling systems․
1․2 Key Features of the Thermostat
The Honeywell TH5220D1029 thermostat offers a range of features that enhance user experience and system performance․
It boasts a backlit display for improved visibility in low-light conditions, ensuring easy reading of temperature settings and system status․
The thermostat is compatible with various heating and cooling systems, including gas, oil, electric, and heat pumps, providing flexibility for different setups․
Its non-programmable design allows for straightforward manual control, making it ideal for users who prefer direct temperature adjustments․
The device supports auxiliary heat for heat pump systems, ensuring reliable performance during colder climates․
With a focus on energy efficiency, the thermostat helps users maintain consistent comfort while optimizing energy usage․
It also features a simple installation process, supported by a comprehensive manual that guides users through setup and configuration․
Additionally, the thermostat is designed for durability, offering long-term reliability and performance in residential and light commercial environments․
Overall, the Honeywell TH5220D1029 combines functionality, ease of use, and efficiency, making it a versatile choice for temperature control needs․

Installation Requirements and Preparations
Ensure compatibility with your HVAC system and verify power requirements before installation․ A clean workspace and proper tools are essential for a smooth setup process․ Plan carefully to avoid errors․
2․1 System Compatibility
The Honeywell TH5220D1029 is designed to work with a wide range of heating and cooling systems, including gas, oil, electric, and heat pumps․ It is compatible with both conventional and heat pump systems, making it a versatile option for various home setups․ Before installation, it is crucial to verify that the thermostat is compatible with your specific HVAC system․ The thermostat supports up to two stages of heating and two stages of cooling, ensuring efficient temperature control․ Additionally, it can handle systems with auxiliary heat for enhanced performance․ Proper system compatibility ensures optimal functionality and avoids potential issues during operation․ Always refer to the installation manual for detailed compatibility guidelines to match your HVAC system requirements accurately․ This ensures a seamless integration and reliable performance of the thermostat․ The Honeywell TH5220D1029’s flexibility makes it a popular choice for homeowners seeking precise temperature control across different systems․ By confirming compatibility, you can enjoy the full benefits of this advanced thermostat․
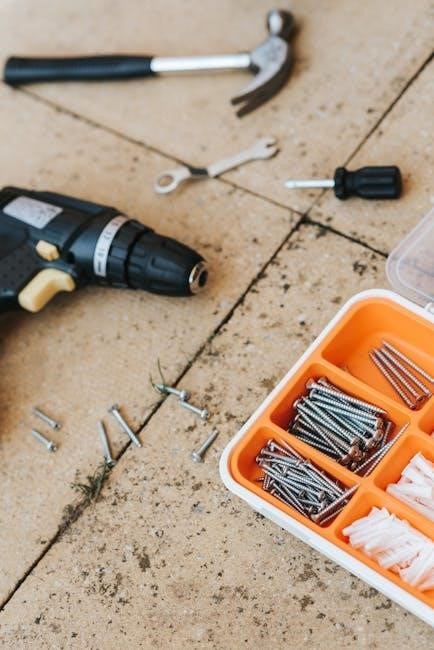
2․2 Tools and Materials Needed

To ensure a successful installation of the Honeywell TH5220D1029 thermostat, gather the necessary tools and materials beforehand․ These include a screwdriver (both flathead and Phillips), wire strippers, a voltage tester, a level, drill bits, wall anchors, mounting screws, and batteries (typically AA or AAA)․ Additionally, a jumper wire may be required for specific system configurations, and the thermostat often comes with a wallplate for mounting․ Having these items ready will streamline the process and prevent delays․ Always ensure the power to the HVAC system is turned off before starting work to avoid electrical hazards․ Proper preparation is key to a safe and efficient installation․ By organizing these tools and materials in advance, you can focus on following the installation manual’s instructions without interruption․ This step is crucial for achieving a professional-grade setup․

Step-by-Step Installation Guide
Begin by turning off power to the HVAC system․ Remove the old thermostat, then mount the new wallplate․ Connect wires according to the wiring diagram․
Install the Honeywell TH5220D1029 thermostat on the wallplate, ensuring it is level and securely fastened․ Restore power and test the system to confirm proper operation․

3․1 Pre-Installation Checks
Before installing the Honeywell TH5220D1029, ensure the power to the HVAC system is turned off at the breaker or fuse box․
Verify system compatibility by checking the wiring and existing thermostat setup․ Ensure all necessary tools and materials are available․
Inspect the wall for damage or unevenness to ensure proper mounting․ Review the installation manual to familiarize yourself with the process․
Check the battery compartment and ensure no old batteries are present․ Make sure the thermostat is suitable for your specific heating and cooling system type․
Confirm the wallplate is included and undamaged․ Measure the wall space to ensure the thermostat fits correctly․
If upgrading from an older model, note the wiring configuration to avoid mismatches․ Ensure the thermostat is set to the correct system type during installation․
These checks help prevent installation errors and ensure a smooth setup process․
3․2 Mounting the Thermostat
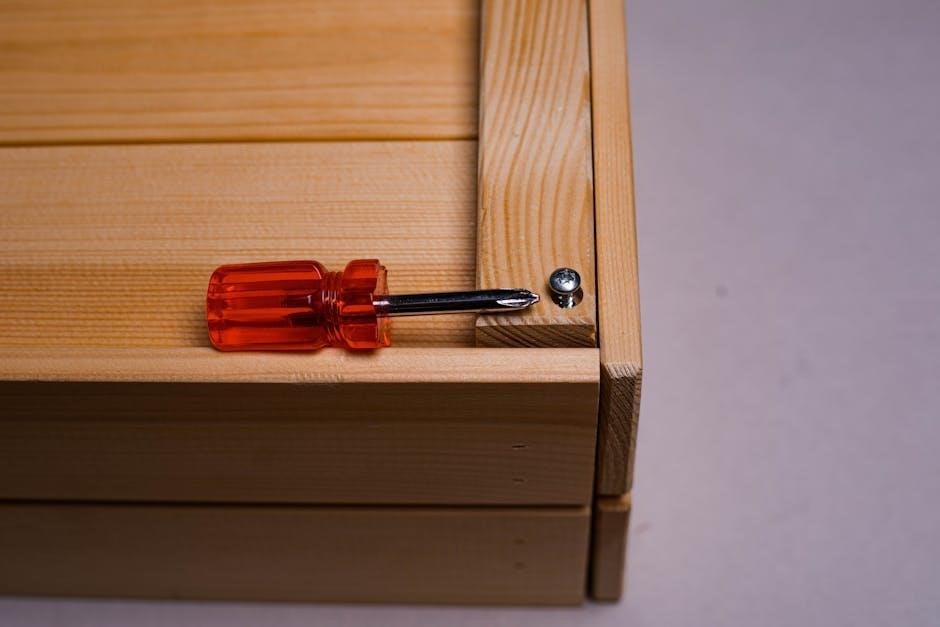
Start by removing the wallplate from the thermostat and separating it from the main unit․
Locate the mounting screws and anchors provided in the packaging․ Drill pilot holes in the wall if necessary, then screw the wall anchors into place․
Align the wallplate with the anchors, ensuring it is level and secure․ Tighten the screws firmly but avoid overtightening․
Reattach the thermostat to the wallplate by aligning the tabs and gently snapping it into place․
Ensure the thermostat is mounted at a height of approximately 5 feet above the floor for accurate temperature sensing․
Avoid installing it near direct sunlight, drafts, or extreme temperatures to maintain precise control․
Once mounted, check that the thermostat is level and securely fastened to the wall․
If necessary, adjust the mounting position to ensure proper airflow and system performance․
Following these steps ensures a stable and accurate installation of the Honeywell TH5220D1029 thermostat․

Wiring and Connections
The Honeywell TH5220D1029 requires precise wiring connections to ensure proper functionality․ Refer to the wiring diagram in the manual for specific terminal connections (R, W, Y, G, C, O/B)․ Always follow the wiring guide to avoid system issues․
4․1 Wiring Diagrams
The Honeywell TH5220D1029 installation manual includes detailed wiring diagrams to guide you through the connection process․ These diagrams are specific to your system type, such as conventional, heat pump, or dual-fuel setups․ Each terminal (R, W, Y, G, C, O/B, and L) is clearly labeled to ensure correct wiring․ The manual also provides color-coded references for easy identification․ For heat pump systems, a jumper wire may be required between specific terminals․ Always refer to the diagram corresponding to your system configuration to avoid errors․ Proper wiring ensures safe and efficient operation of your HVAC system․
4․2 Common Wiring Issues
Incorrect wiring is a frequent issue during the installation of the Honeywell TH5220D1029 thermostat․ One common mistake is connecting the wrong terminals, which can lead to system malfunctions․ Ensure the R (red) wire is connected to the R terminal and not the Rc (cooling) or Rh (heating) terminals․ Another issue is the improper installation of the jumper wire, especially in heat pump systems, where it may be required between the O/B and L terminals․ Additionally, reversed polarity or loose connections can cause the thermostat to malfunction or not power on․ Always refer to the wiring diagram in the manual to verify connections․ If issues persist, double-check the system type configuration in the Installer Setup menu to ensure it matches your HVAC setup․ Proper wiring ensures safe and efficient operation of your heating and cooling system․